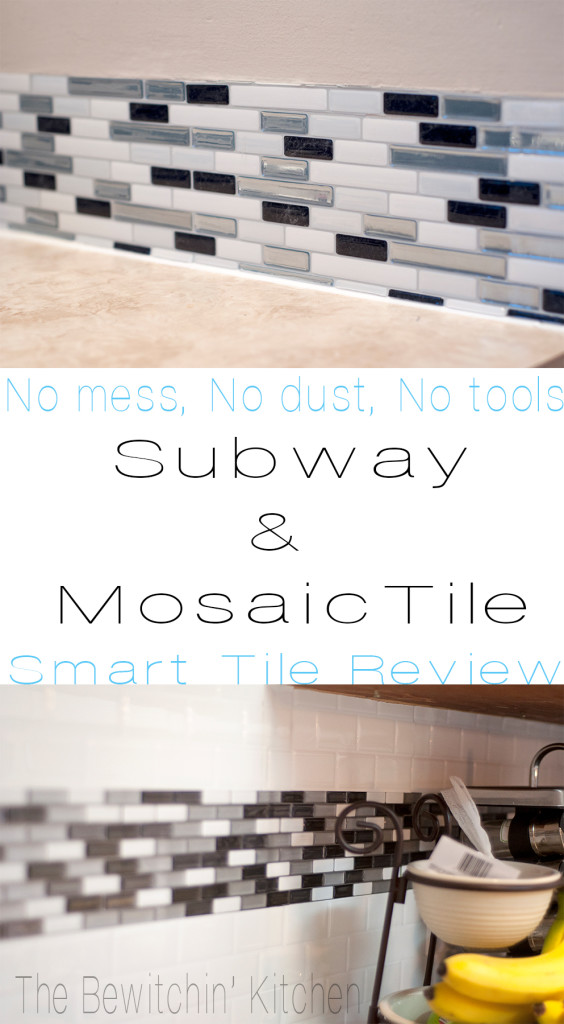
Smart Tiles Review Update Your Backsplash The Easy Way
My house was built in 1969, and that seems to be the last time the kitchen and bath were updated. I have a lot of work ahead of me, but thankfully one of the jobs that I have been dreading ended up being incredibly simple. Here’s a spoiler alert to the whole review: Smart Tiles are amazing.
I’ve had my eye on Smart Tiles for a while, but they seemed a little too good to be true. An easy application and no mess, yet looks authentic? It sounded like a pipe dream. So when I had the opportunity to review Smart Tiles I was really excited, anxious and a little nervous.
What are Smart Tiles?
Smart Tiles are basically 3D stickers, used in place of tile. They’re unlike any brand out there, in the sense of quality is their main focus. Based in Quebec, Canada Smart Tiles are designed, manufactured, and distributed in Magog. Everything is coming from North America. These tiles look just like the real thing. It’s the clear gel component called Gel-O™ and it gives the 3D effect, which resembles to the glass mosaic. Smart Tiles are specifically designed for the kitchen and bathroom, they are resistant to heat and moisture. No mess, no dust, no additional tools. Installation is so easy.
Smart Tiles For The Bathroom
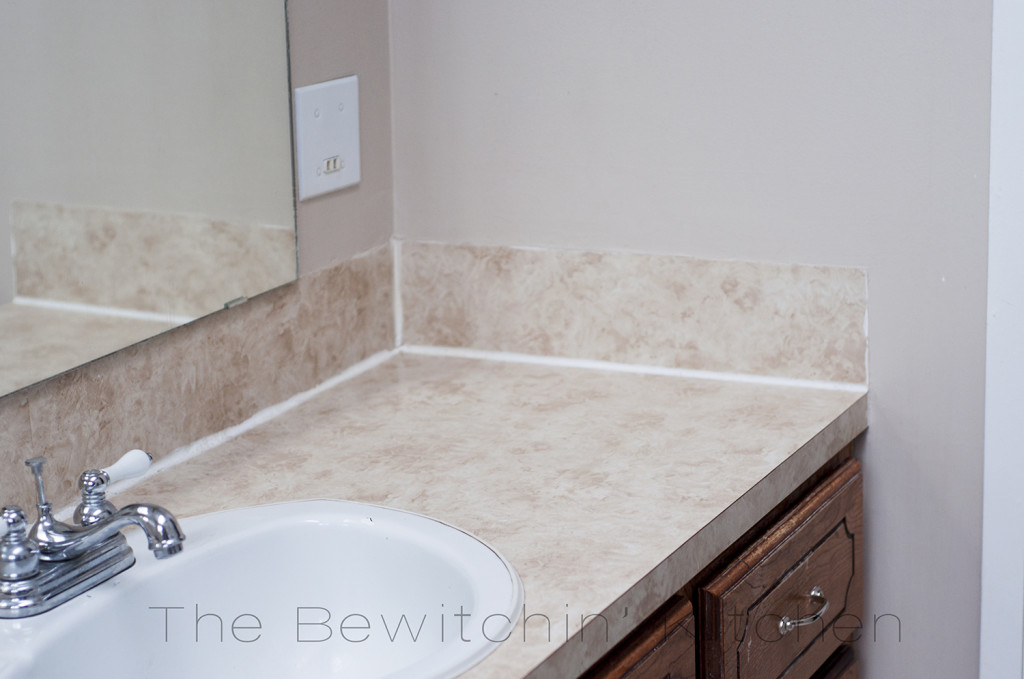
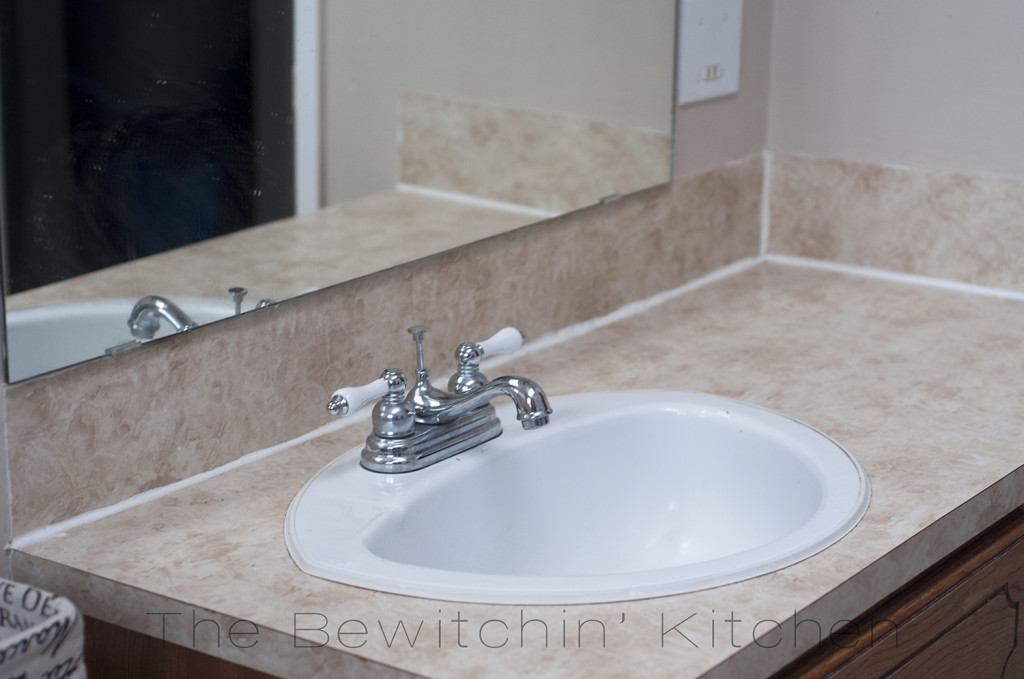
I wanted to do the bathroom first, just so I could get into the swing of things. I felt that if I made a mistake in the bathroom, it wouldn’t be as big of a deal as making a mistake in the kitchen. Here are a few “before shots” of my upstairs bathroom:
Now for the afters (I used the Muretto Brina Smart Tiles ):

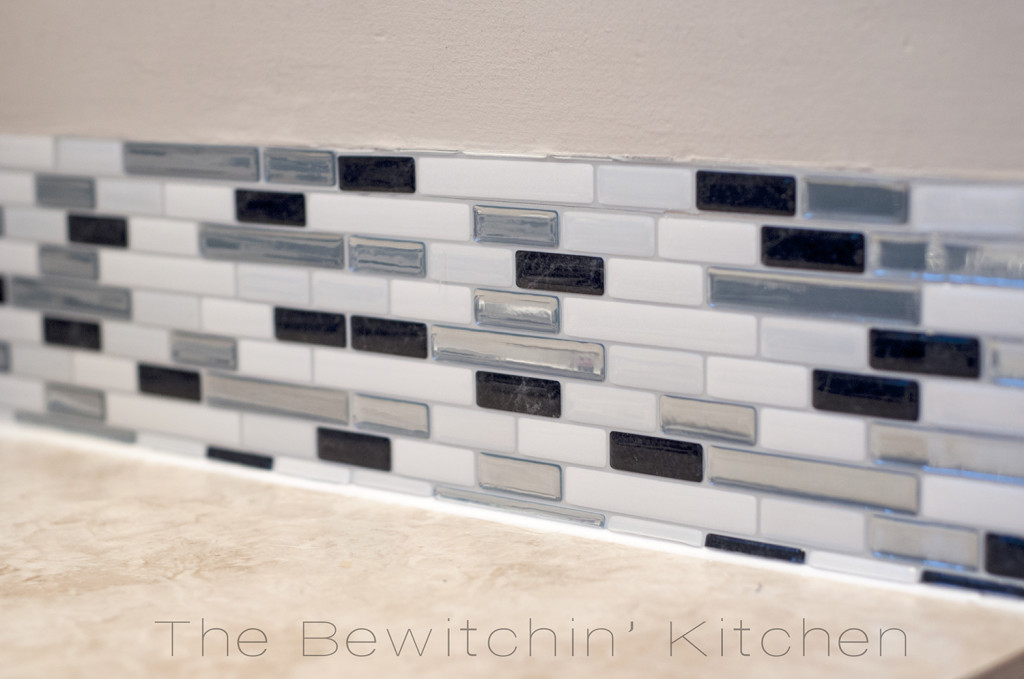
Smart Tiles don’t take much room. They’re very thin.
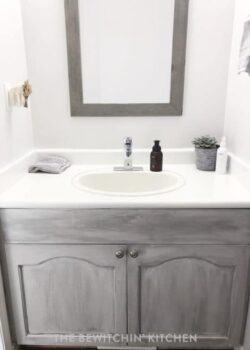
It looks a million times better already! My long term plan with the bathroom is to paint the walls Chelsea Grey, stain the vanity Java and re do the counter top in a white/grey marble swirl.
Smart Tiles offers a lot of support on their website, including an installation video. I didn’t have the proper knife (well I did, but I couldn’t find it), so I took matters into my own hands (not recommended). Here’s a video I made on Instagram on installing the bathroom tiles:
Smart Tiles In The Kitchen
I was feeling pretty confident after the bathroom installation (which took under an hour), so I did a little bit of the kitchen the same day. In total I took three days to do the kitchen, a few hours at a time. Whenever I found myself getting bored, I stopped. I didn’t want to start rushing the project and getting sloppy results.
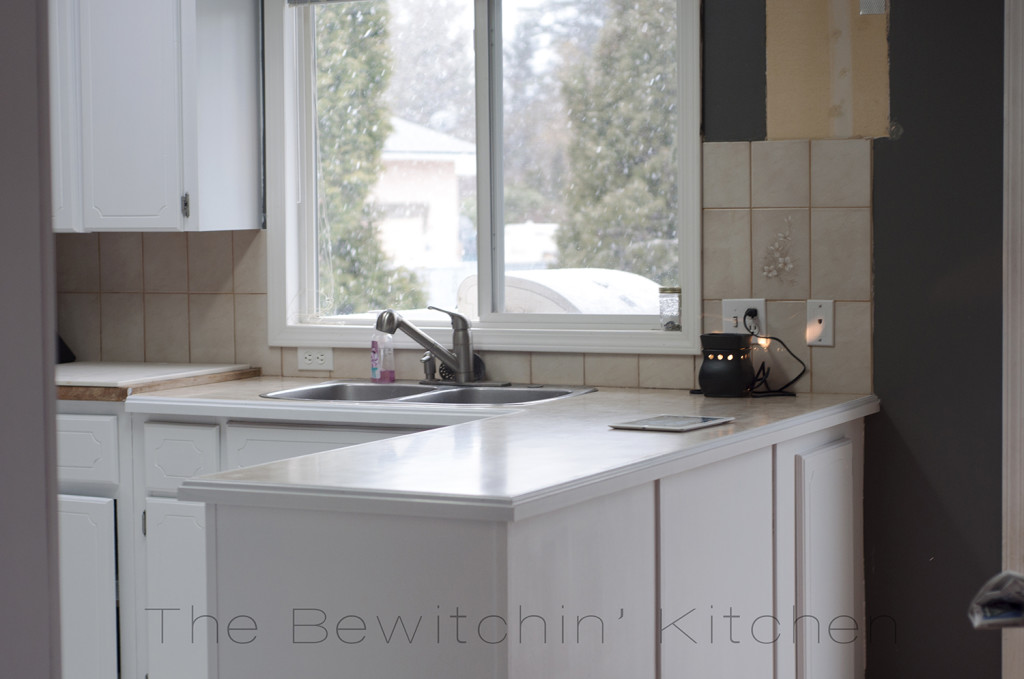
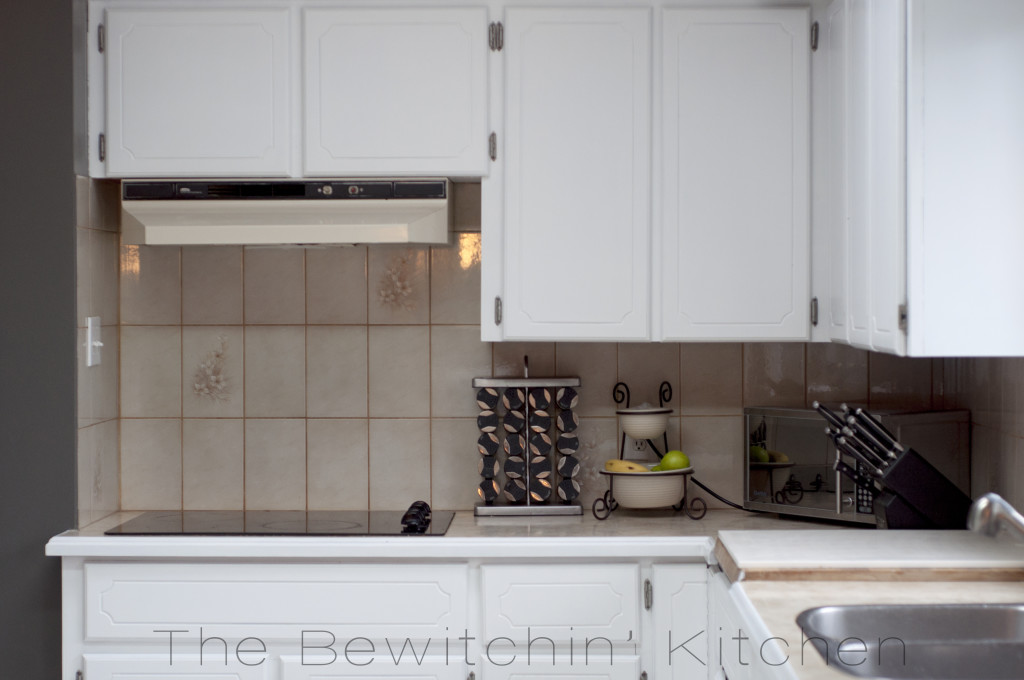
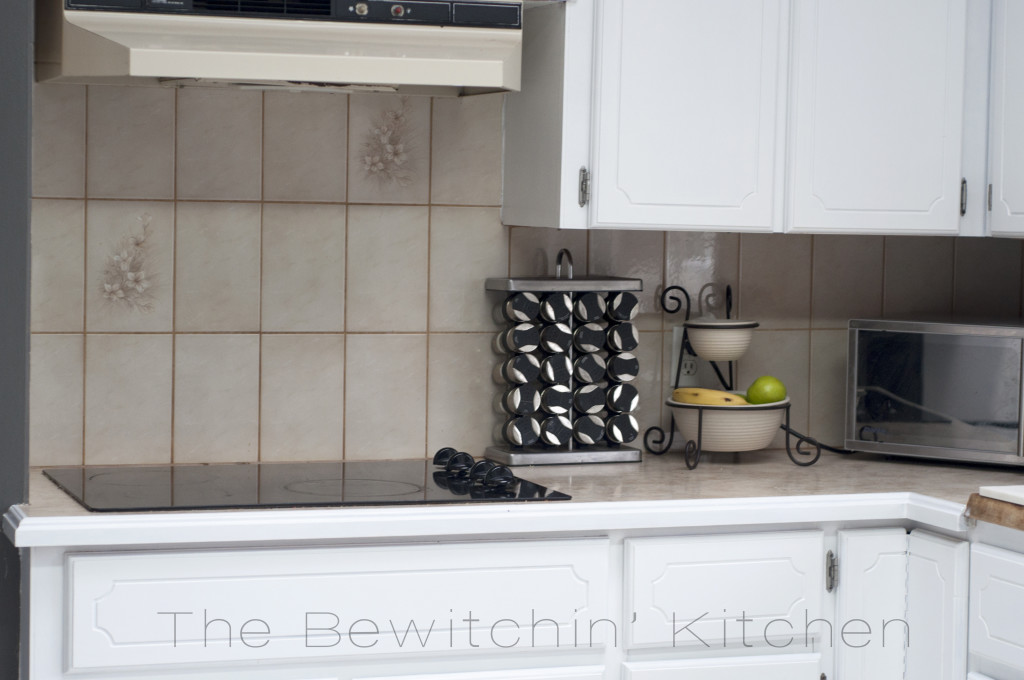
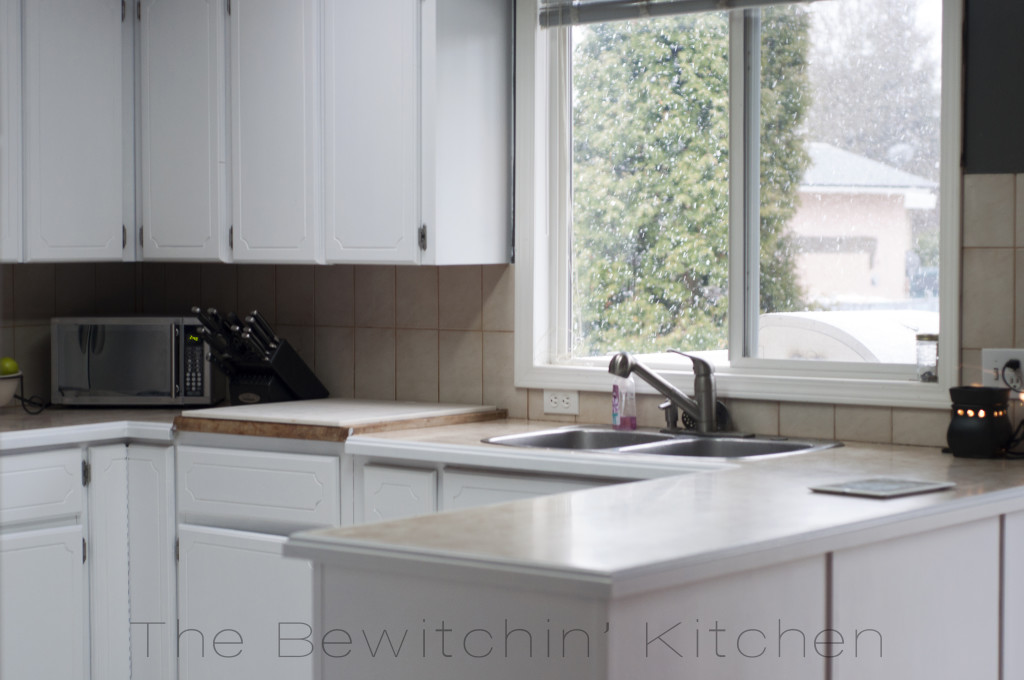
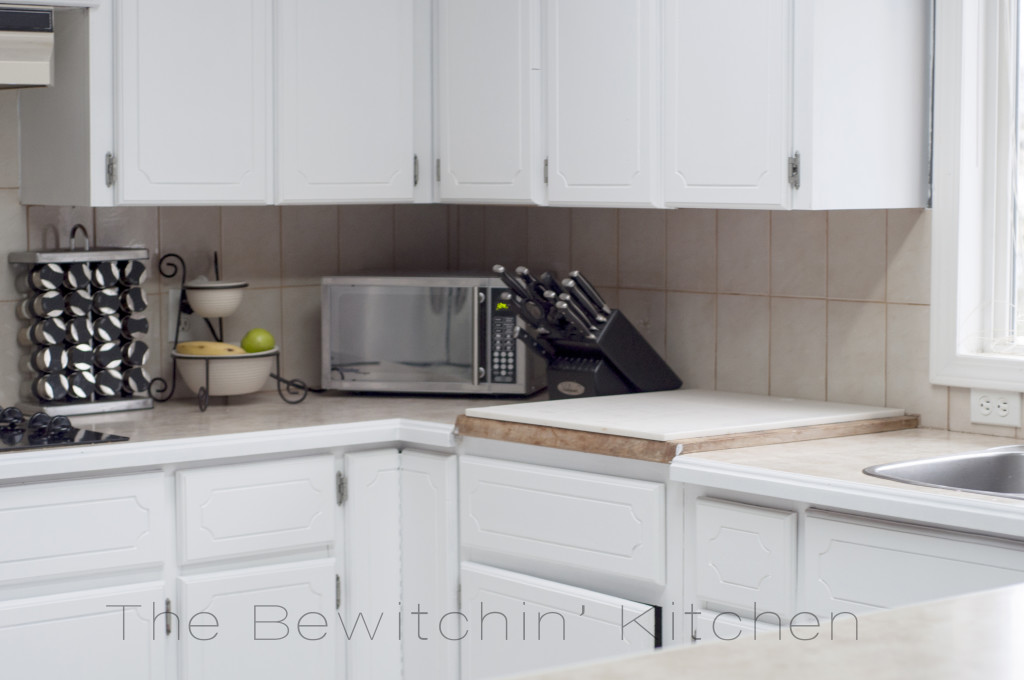
Here are some before shots (ignore the one wall, I ripped out the cupboards and I still have to do some patching and painting):
Smart Tiles Installation
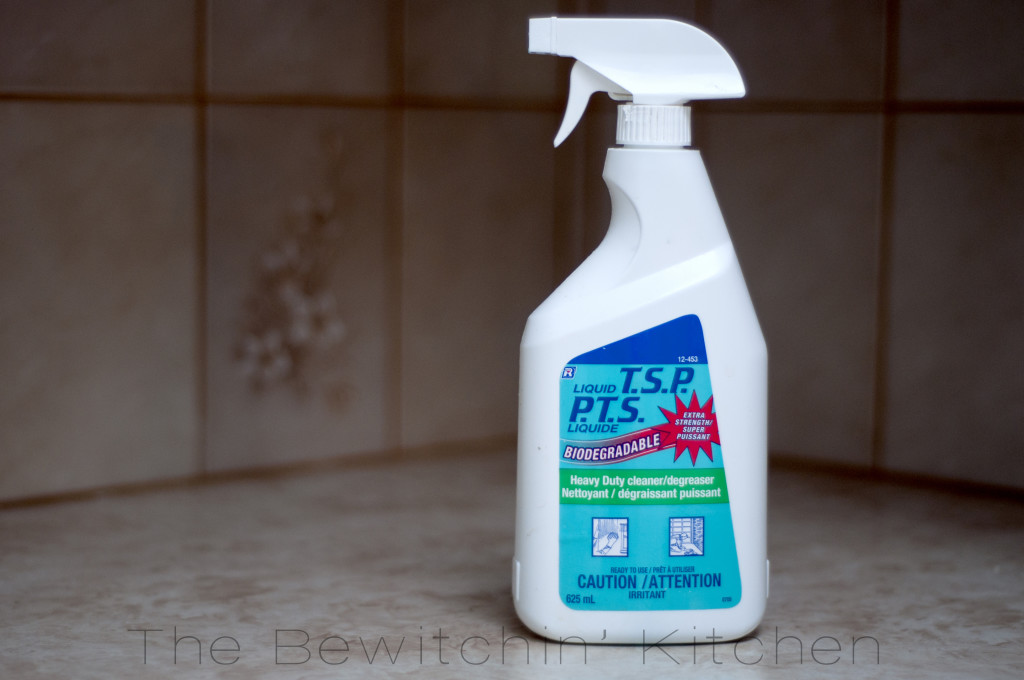
First I sprayed the pre-existing tiles with TSP and then wiped it off and “rinsed” with a damp rag. Then I let it dry completely. You’re going to tile OVER the existing tiles. Yes, you heard me right – LESS WORK FOR YOU!
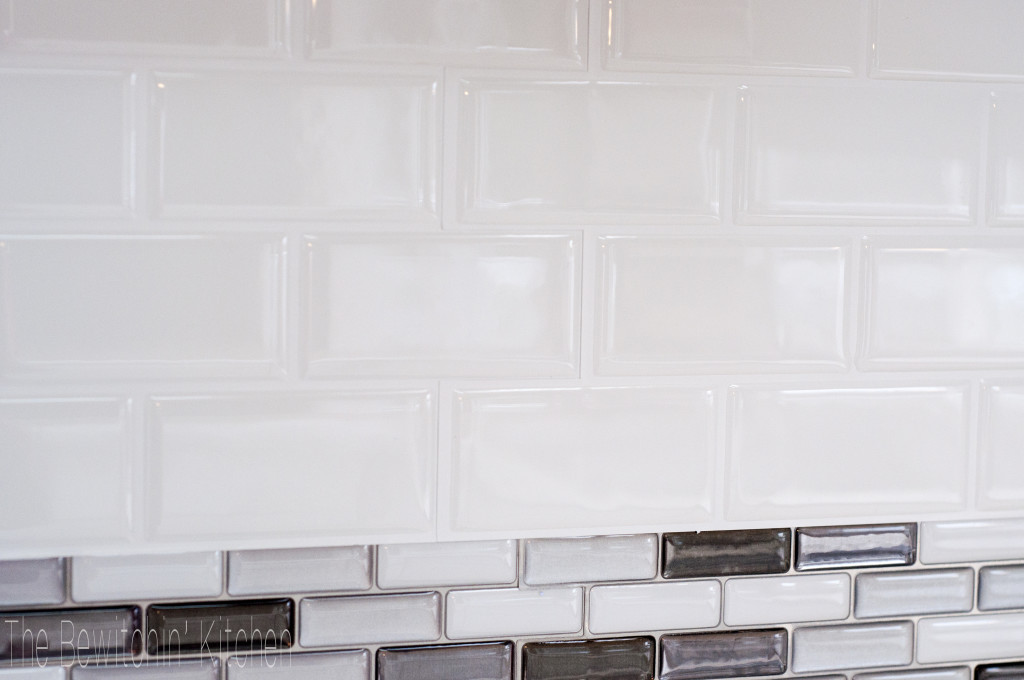
You’re going to want to measure your wall and make sure you cut the tiles to fit. I decided to use two different tiles with my kitchen: the Subway White Mosaic and the Murano Metalik. The fact that I used two different styles, caused me to do a lot of cutting. When you’re doing an accent strip I have been told that you never want it in the middle. So, because of that, I had to cut the first section off of all the subway tiles on the bottom row. Then there is the cutting you have to do to fit it in the spot and the I also cut the Murano Metalik in half. (I didn’t want the accent strip to be too thick.)
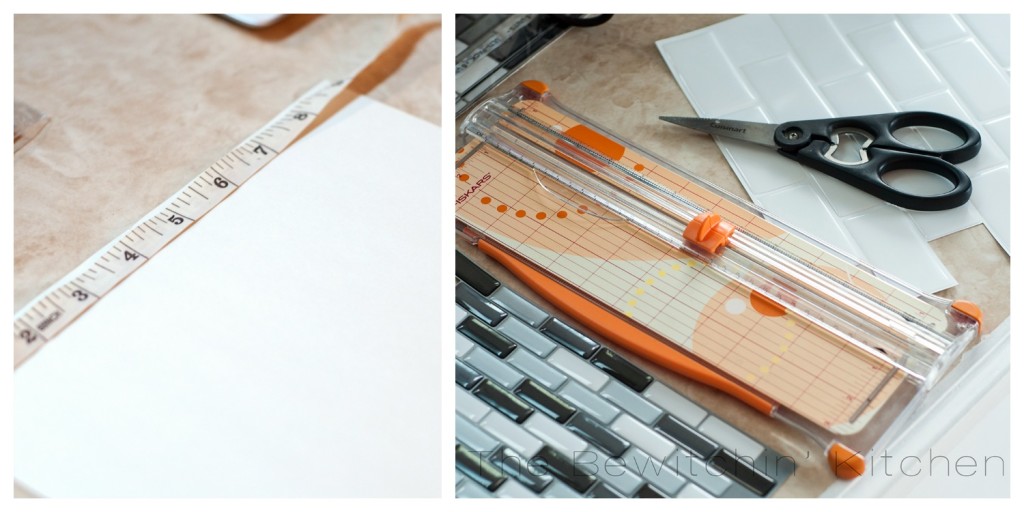
Since I couldn’t find the exact-o knife, that is recommend, I took matters into my own hands. I used my scrapbooking paper cutter. It actually worked really well, it kept everything straight. It wouldn’t completely cut through the 3D part when I needed to, so that’s when I took my kitchen knife to it. Having the guide that I have myself with the paper cutter helped keep my cuts proper.
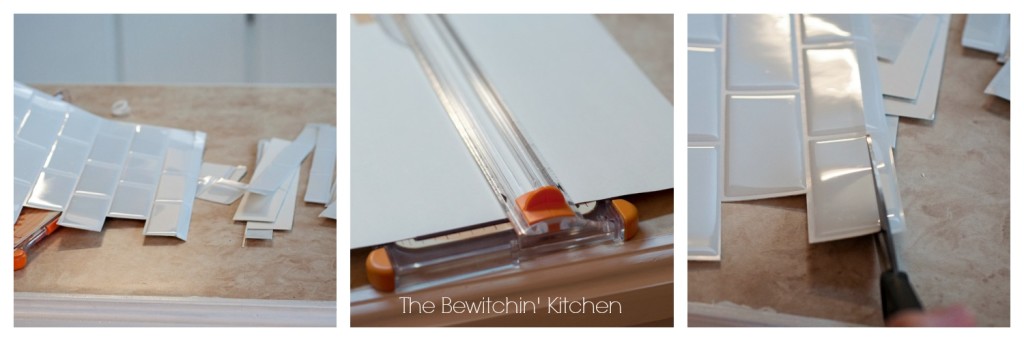
Note: I recommend using a straight edge and a sharp knife. This method worked well, but it wasn’t perfect and I had a few crooked cuts.
After cutting, you just have to peel and stick. I’m a perfectionist, so there was a lot more adjusting to do. There were a few times where I had to take the sticker off and stick it back on at least ten times, and I’m happy to say that the Smart Tiles never lost it’s “stickiness”.
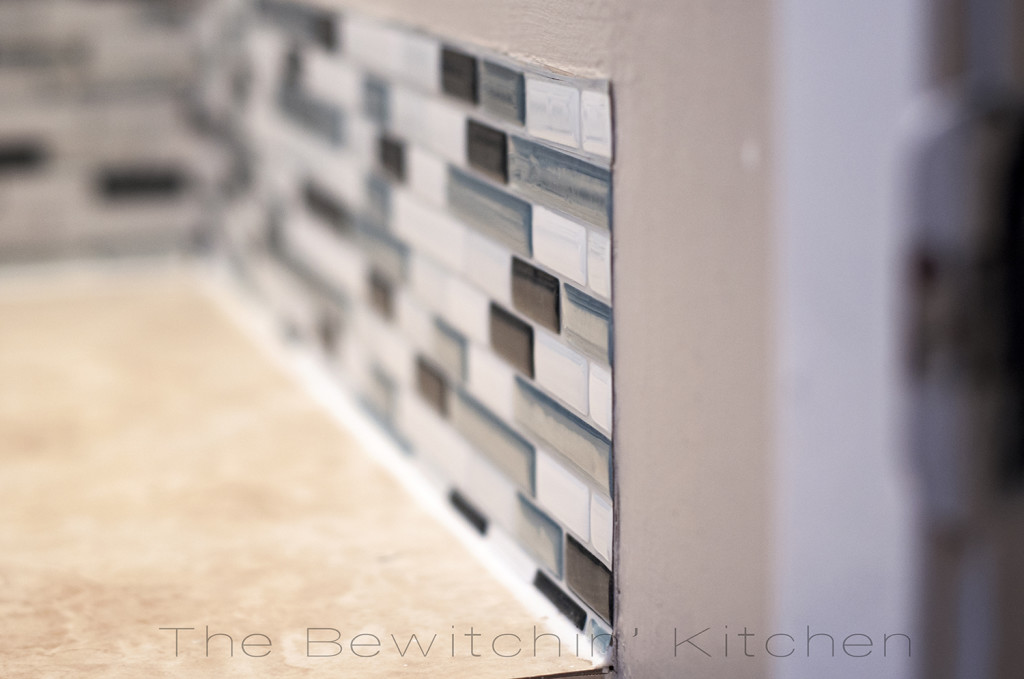
Smart Tiles After
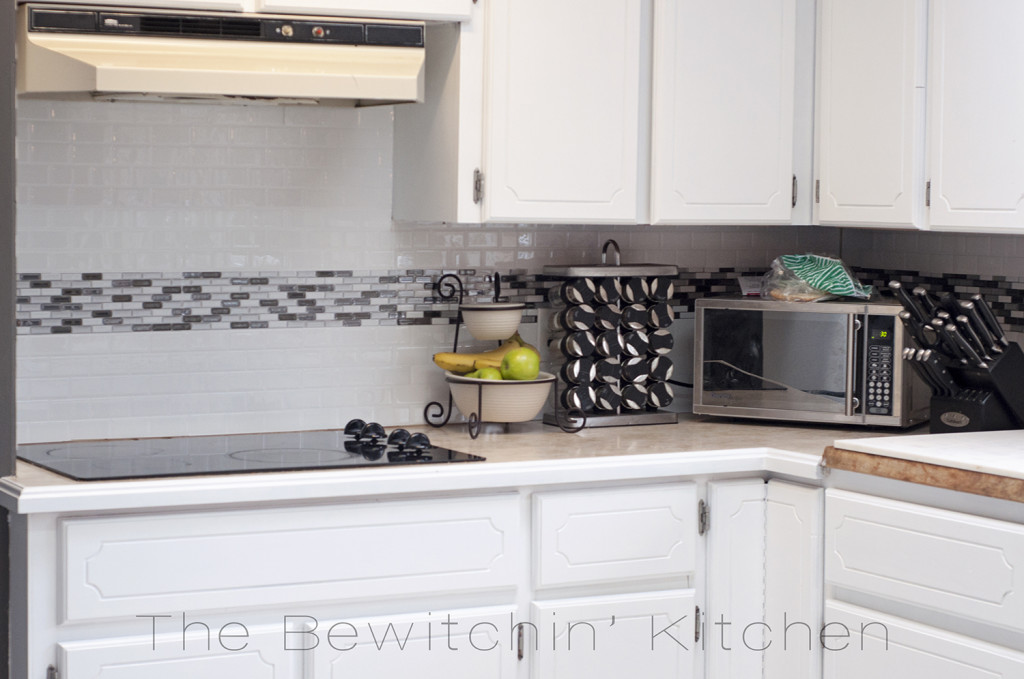

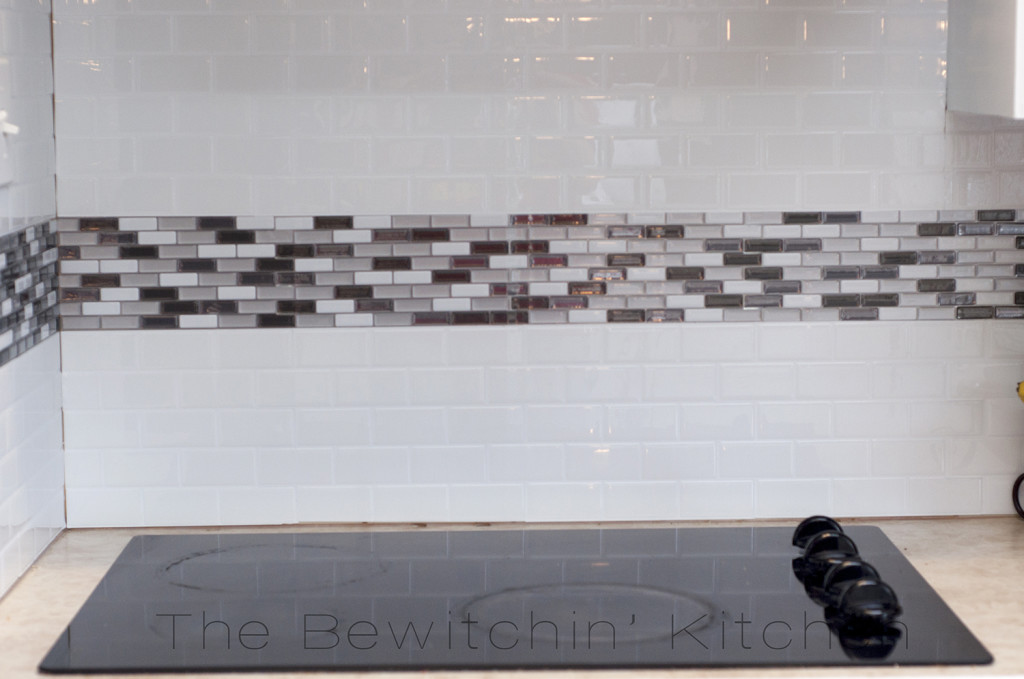
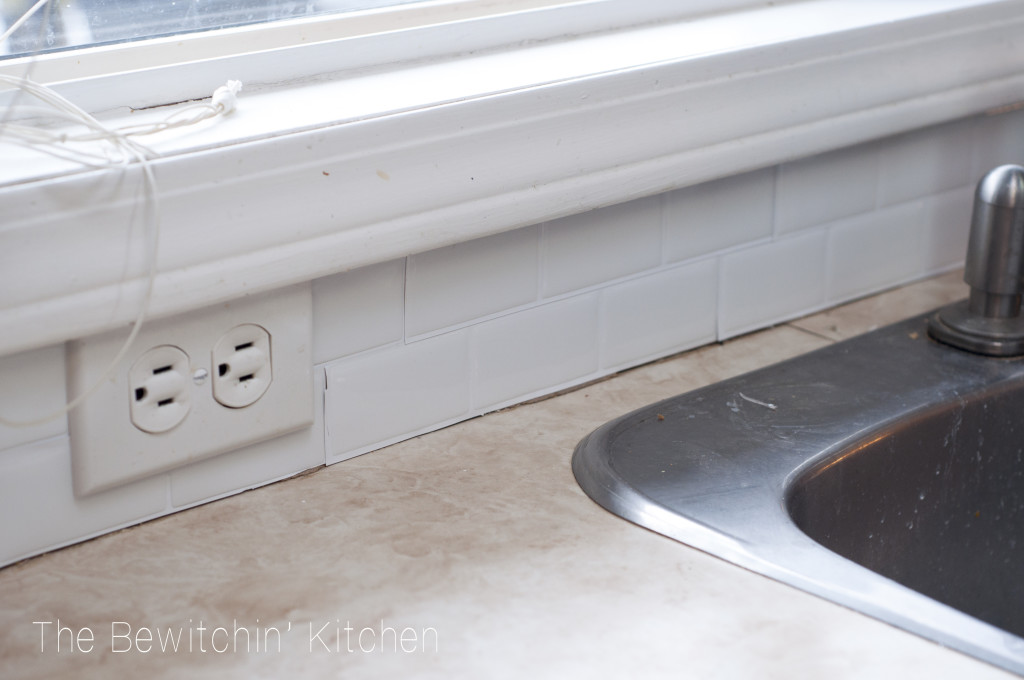
I still need to caulk and seal along the edges and corners.
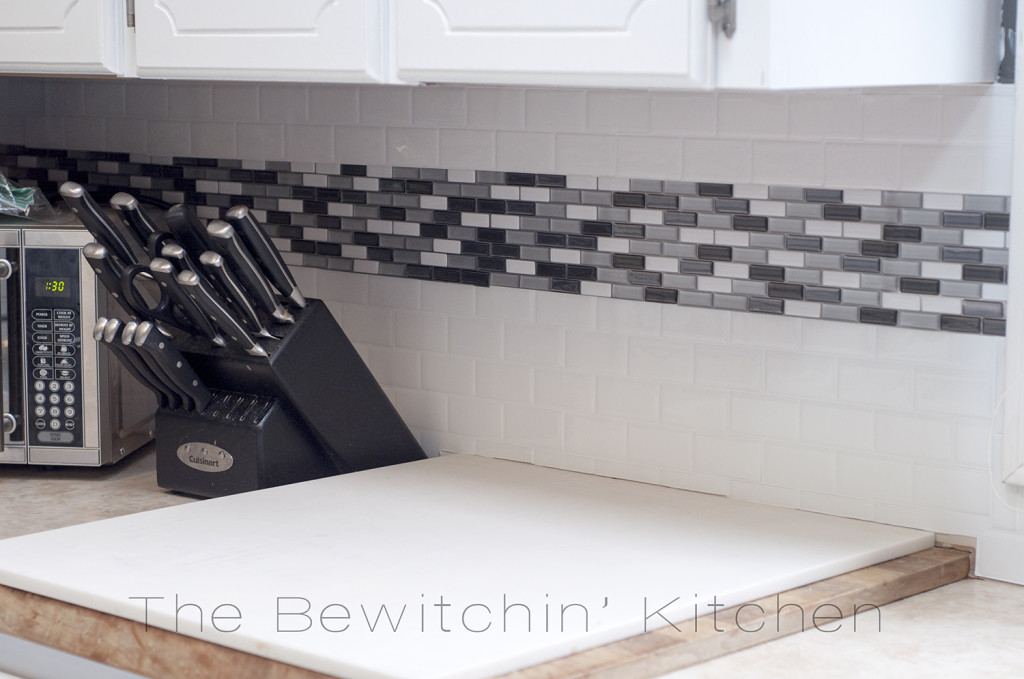
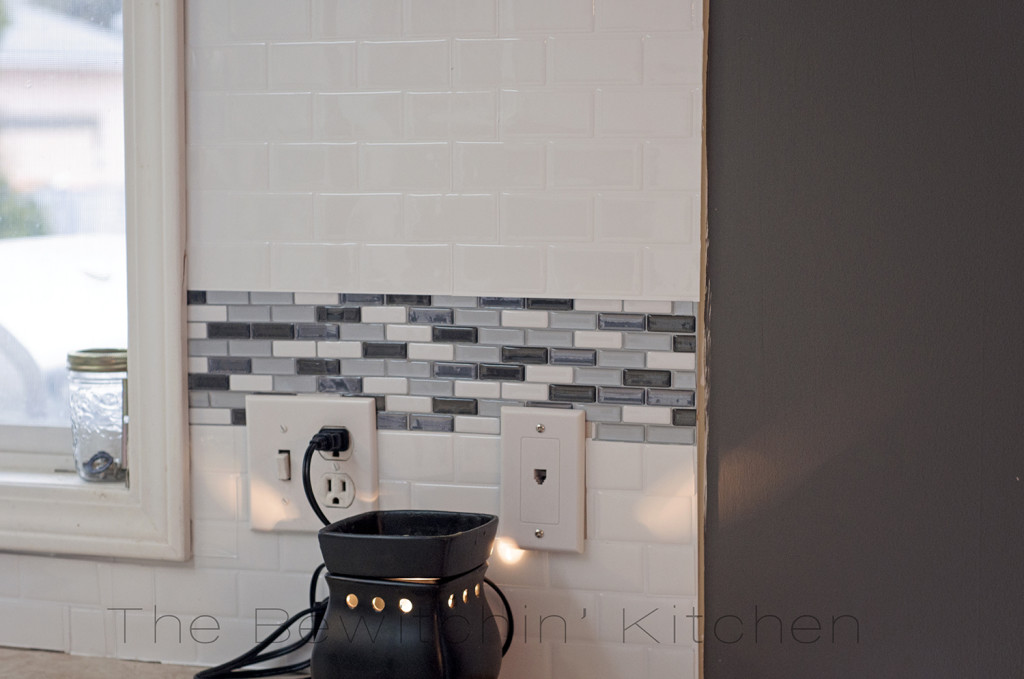
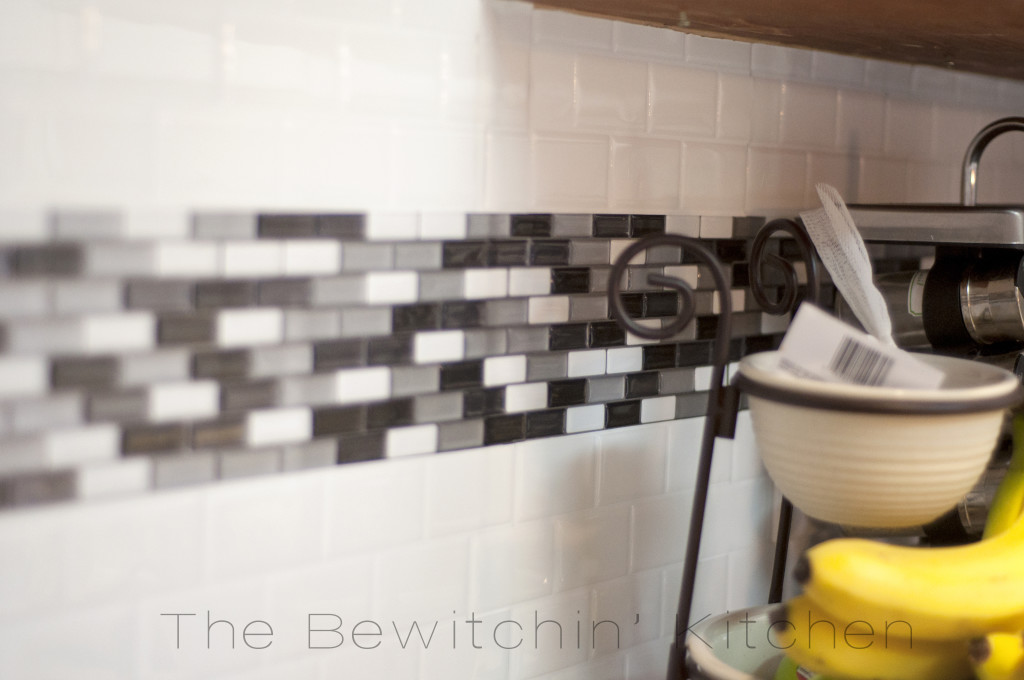
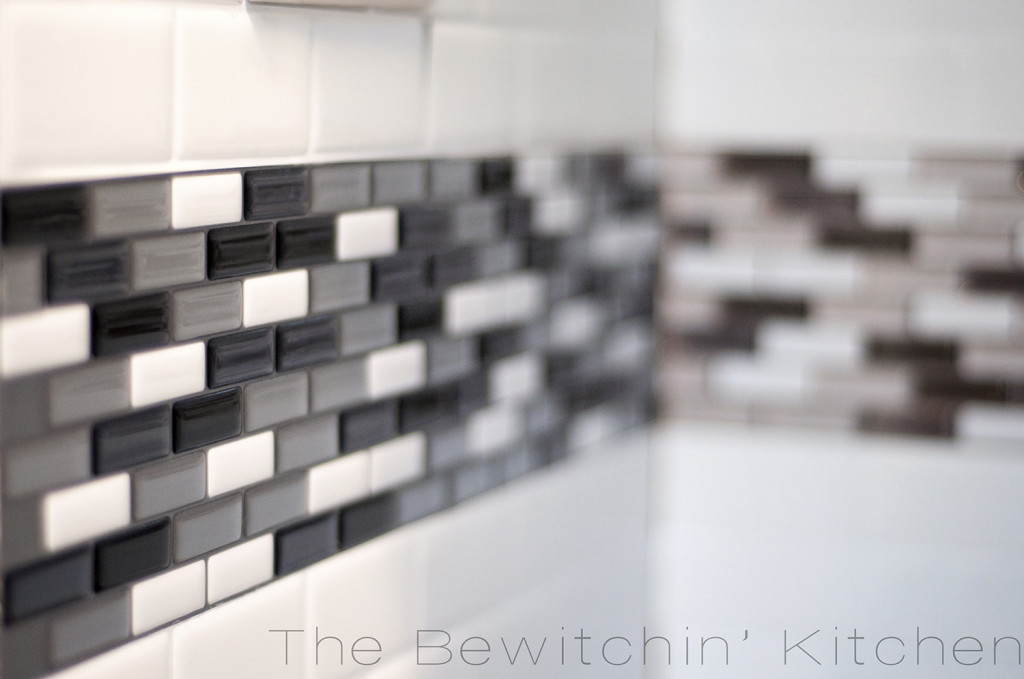
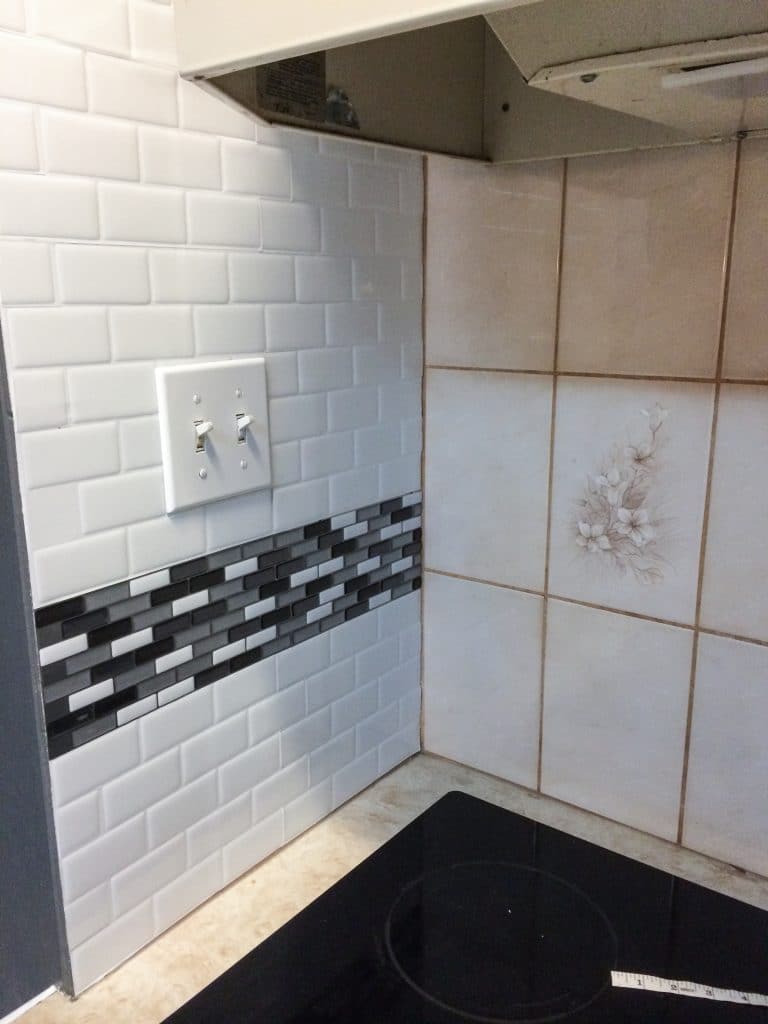
Doesn’t it look fantastic? It looks even better in person. If I didn’t know any better, I would never have guessed that my backsplash is actually a bunch of stickers. Amazing! There are a few areas where I can tell they’re stickers, I do believe that it is because of my error. It’s where I had an issue with “tiling” because of all the cutting I had to do. It’s the gap near my sink and near my range. They’re the only two spots where I have noticed any flaws:
I know there are a lot of photos in this post, but when I research a product: the more photos, the better. I only have a few more. If you want to see even more photos, check out my Instagram page.
What a difference!
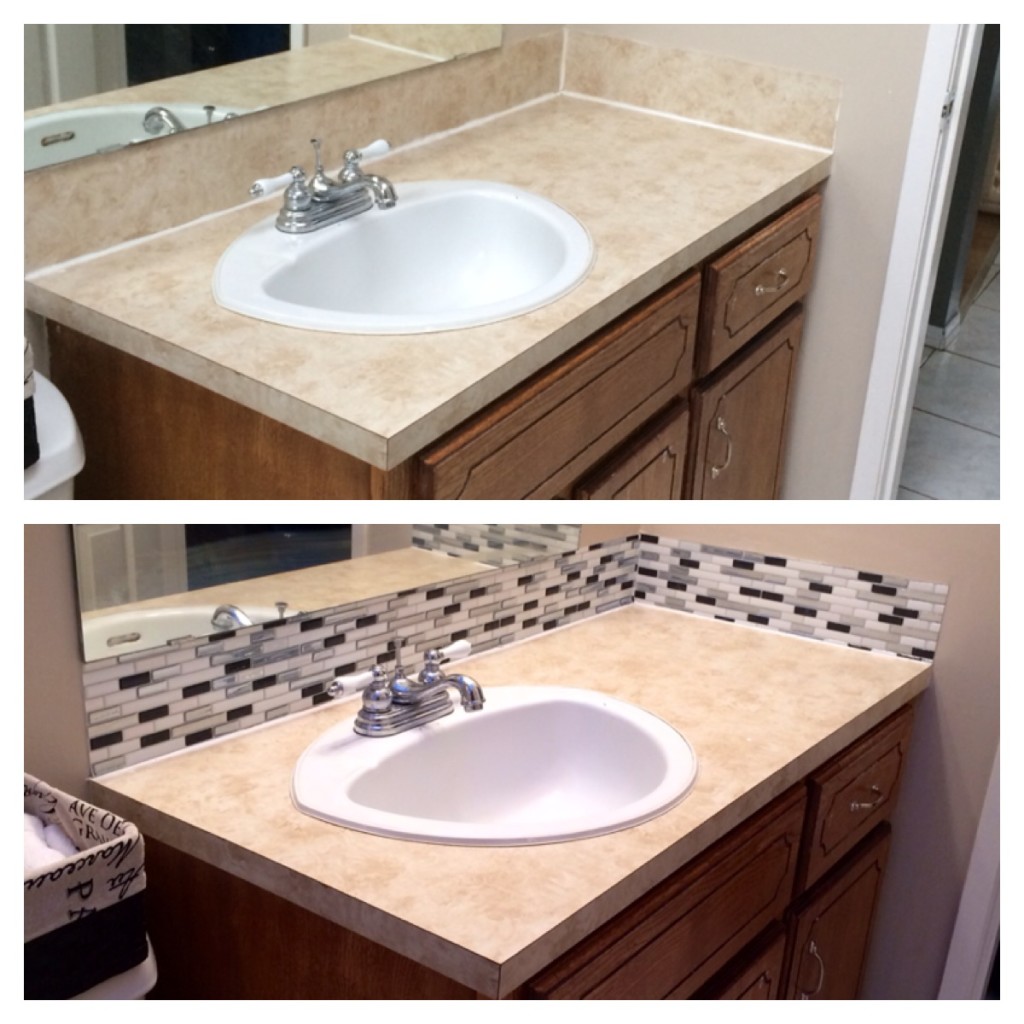
Bathroom Before: Bathroom After
If you’re interested in learning more, please visit The Smart Tiles website.
Do Smart Tiles Last?
Update 2016: I have moved away from that house, but I can say that up until the day I moved the Smart Tiles held up beautifully!
Smart Tiles Important Information To Know:
Smart Tiles only have one quality: A1. Stick to the wall, do not change colors, flexible and durable. You can purchase The Smart Tiles on their website, Home Hardware, and Lowes.
Home Depot no longer carries The Smart Tiles in Canada (however 400 US stores do). Home Depot Canada carries a similar product, but it’s made in China. This product has been tested by Smart Tiles and it did not stick, it turned yellow and it curled. So please don’t confuse the two. It’s an authentic product when you see The Smart Tiles logo on the package and it’s Made in Canada, whatever it’s from the site or other stores (see the list here https://www.thesmarttiles.com/en/where-to-buy/), the quality is the same: A1!
You can also find Smart Tiles on Amazon!
My kitchen renovation is almost complete! The backsplash is done, I painted my oak cabinets, and I also finished up painting the kitchen countertop.
Want more DIY home projects?
Do you have a renovation coming up?
Looking for more great ideas? Click here to follow me on Pinterest!
Visit Randa | The Bewitchin’ Kitchen’s profile on Pinterest.


that looks fantastic! I love to hear that it didn’t lose it’s stickiness even with adjustments! Great way to freshen up a room
I was really impressed. I even got one or two a little dirty and was worried about adhesion and it worked great.
I’m interested in using these on top of my old “dimpled” kitchen tiles. Do you think they will stick down since the old tiles are not perfectly flat? Also, what do you do at the end of the tile section where both layers are exposed? Did you use some kind of endocap?
Thanks.
Hey Linda!
I can’t be 100% sure here as mine weren’t dimply. They are really sticky, maybe as the store (or the company) if it doesn’t work if they will take it back.
I didn’t use an endcap, I caulked it.
Wow, that looks great, Randa! Love how it updates your rooms. You’ve got me thinking that smart tiles are something I’ve got in my kitchen also. It looks like the same idea, just different colour/pattern. Congrats on a job well done!
OMGosh, what a difference!!! Your work all looks fab!
I have seen the peel and stick tiles at Home Depot, they were more square though, so might not have been the same brand, but I was a little skeptical of how well they would look and work. Yours look fab, and how amazing that you can just put them on already there tiles!!
We have our house up for sale, but I told my hubby if it didn’t sell I wanted to redo our kitchen, I would for sure look into these and be able to do them myself! Great blog and wonderful photos!
I asked Smart Tiles about the ones at Home Depot. They no longer sell Smart Tiles and the ones there are made from China. Smart Tiles Tested them and they don’t stick, peel and turn yellow!
Good to know, thanks! Will steer clear of those ones!
Just to be fair to Home Depot, I did buy Smart Tiles there Murano Mosaik Decorative Wall Tile in Dune . The ones I bought were made in the USA and they did warn about the ones from China, but they don’t sell those any longer, only the REAL smart tiles made in the US. Here is what it said.
the colors are carefully selected to match your decor. We also guarantee that the colors will not fade or yellow with time for as long as you have them on your walls. The ORIGINAL Quality is the assurance of your investment. Beware of poor quality copies made in China. On the packaging, look for: The Smart Tiles Logo. The “Made in North America” label. The “Original” label.
I uses the peel and stick ones in my bathroom a couple of years ago. They were great and easy to use.
Seriously!! when are you coming to do my kitchen!! We don’t have a back splash but that looks gorgeous! You did a great job!
Something so simple looks so amazing! I don’t have a tile back splash but I will be hinting this to DH! Thanks!
Definitely makes it more appealing to the eye! I have done this in my half bath downstairs and everyone loves it and it was simple and affordable too.
It was simple. I know darn well that IF I attempted tile, it would have been crooked and I would have cried haha.
This is genius! I really want to tile my back splash in my kitchen but am terrified of crooked tiles…. I think I may just have to try this out!
Wow – these look amazing! I haven’t heard of them until now – thanks for the introduction!!
Hey, thanks for visiting my blog! What a cool product. Seems like they’d be perfect for someone living in an apartment since they do come off. Great fun that they let you try them!
Randa, this looks amazing! I’m so impressed! I really love the white subway tile pattern. We just bought our first house, and I’ve been wanting to add a backsplash to an alcove in the hallway… looks like I’m definitely going with Smart Tiles. Thanks again!
Thanks Miranda! This process was so easy, I really recommend it!
this looks great!!! how is the glue holding up? you think would hold well and be safe to install them behind the stove?
Hi Paula, it’s holding up strong! I think as long as it’s not too hot, they should be good. If I were you, I would double check with Smart Tiles though.
Pingback: Painting Kitchen Countertops With Giani Granite - The Bewitchin' Kitchen
I love it so much! Looks so really good, the places you said that it looks like stickers would doing a thin line of caulk at the base make a difference?
The caulk did help but I have one more spot that it looks like a sticker and I can’t caulk it there. That being said, I seem to be the only person who notice it.
thank you I have never heard of smart tiles before and it looks very nice though I would love to have your original tiles too
I want to try this, but I am worried about the area around my stove (which gets pretty warm). How have these held up in areas of higher heat? I have a nightmare vision of me cooking and my wall melting 😉
It was a concern of mine too, but mine have held up!
Wow..what an awesome job!! I have one question (I want to use them over my old 1990 cream tiles..) what do you do at the edge..where the backsplash meets a flat wall? Will it be obvious there that they are not real tiles?? Thanks!
I just left it, and it seemed to look okay.
Now that you have had these up for while, how have they held up?
Hey Jackie,
I no longer live in that house but up until this December – they were as good as they were on the day of installation!
Looks amazing, I’m curious at how much the total project was for your kitchen if I may ask?
With the Smart Tiles, I didn’t pay. I was provided the tiles to try out. I believe on their website they have a calculator for how much you need and how much it will cost.
Rona has them as well! Bought some today and I’m excited to start this project tomorrow!
They have Smart Tiles? Awesome! My Rona is closer than Home Hardware, I’ll head there for a new project I’ve been thinking about doing. Thanks!
Just double check online first for your location and their stock. My regular Rona didn’t, but the next Rona over had a full stock. I did my kitchen back splash this week, and I’m shocked with how good and realistic the results look. My dad (a definite handyman) thought they were real until I told him.
Can hardly wait to see if our Lowes has the tiles. We have a manufactured single wide home 16X80. Certainly not our dream house but what we could afford here, live 18 miles west of Grand Junction, CO, real estate is quite bit higher than where we moved from Bowling Green, KY area. We pretty much had to compromise when we bought this place, altho is out in country/rural area on 1/2 acre. We’ve done some painting, replaced frig and replaced roof in April/2015. We’re on SS so have to budget carefully.
We inherited what original buyer ordered and believe me is not to my tastes at all. Little by little we’re fixing it up, lack of funds causes progress to slow down but I keep plugging away.
If we could put these “tiles” up in kitchen and our bathroom would sure make me happy old lady. A few other things would make me happy also but they’ll have to wait. lol
Am thinking white subway tiles would be my preference so hope they’re not more expensive than others you used.
I tend to change my mind so know white subway tiles would keep me happiest for longest. At our ages (almost 76 and 74 1/2) this will be our “rest of our lives” home. Happy week
Looks like clicking on your wonderful posts has stirred a lot of interest from several folks.
Hi JaneEllen! I hope your Lowes has it as well! I bet it will spruce your place right up 🙂
Appreciate the recommendation. Will try it out.
I love these so much
What was the texture and finish of your original tiles? Thanks.
The original tiles were smooth. Finish..semi gloss?
Pingback: How to Install a Backsplash | The Budget Decorator
Pingback: The Easy Way to Retile a Backsplash | Smart Tiles Review - FUJI FILES
How do you finish the edges if it doesn’t end with a corner or at a windor/door molding? I.E. I want to do around a vanity in the bathroom but do not want to continue across the entire wall, will be stopping at the edge of the vanity.
`1
Hey Nancy, I didn’t put anything to finish the edge.
Smart tiles have an edging strip that they sell in 2 colours. You can get them at RONA or on their website.
Awesome! Thanks Emma!
Hi. If I were to move out of the rental would it be easy to peel the mart tile off? Would the existing backsplash tile get damaged?
I’m not sure Cindy. I never did that. I was able to peel it off to reapply straight but not after a long time. I would email them and ask to be sure.
It’s going to be ending of mine day, but before finish I am reading this great piece of writing to
improve my know-how.
This post is worth everyone’s attention. How can I
find out more?