How I Improved My Food Photography with Food Blogger Pro
If you’ve been a follower from the beginning (I do recognize your comments) you’ll know that my food photography has improved dramatically over the years, especially over the past 2-3 years. Here’s why: I got a DSLR and I enrolled in Food Blogger Pro in 2015.
Food Blogger Pro, What Is It?
Food Blogger Pro is where you can learn how to start, grow and monetize your blog. There are lots of video tutorials, live webinars, a podcast (which is available to non-members), a community forum, deals on products and so much more. It’s put together by the husband and wife team, Bjork and Lindsay Ostrom. Lindsay is the lady who makes us all drool from her recipes on her blog Pinch of Yum.
Sign up for a year and get 10% off with this coupon
The resource the helped me the most are the video tutorials. I’m a visual learner and I the videos are so easy to follow. They have videos on SEO, web master tools, ads (where I found AdThirve and went from a 1.33 RPM company to almost a $9 RPM in 3 months) social media platforms but I’m going to focus on photography. They have photography courses and courses on lighting (both artificial and natural). I even bought the Lowel Ego Light for winter shooting or tricky lighting.
I learned a lot from the photography and lighting but the editing was the real game changer. They have tutorials for both Photoshop and Lightroom.
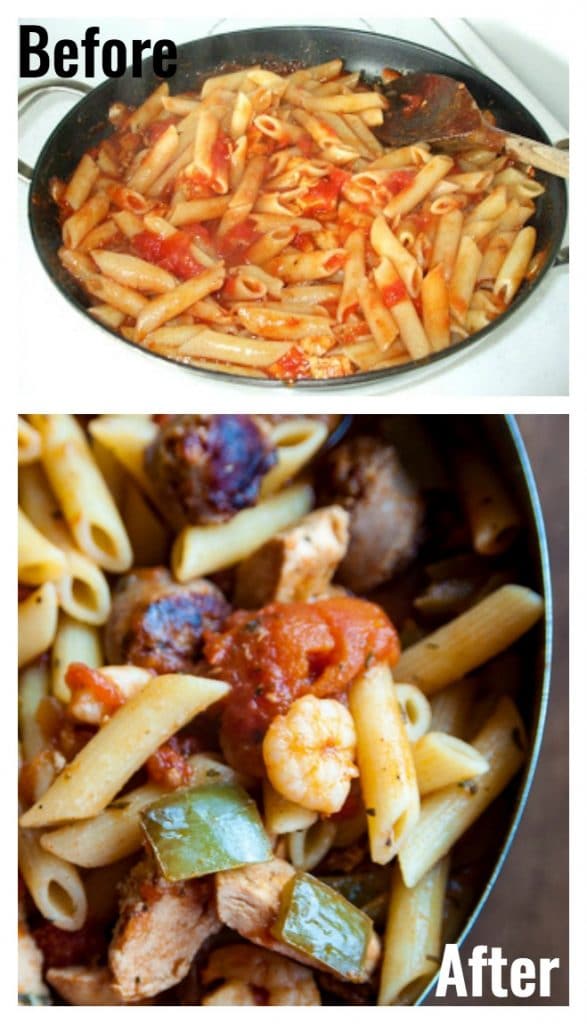
Food Photography before and afters:
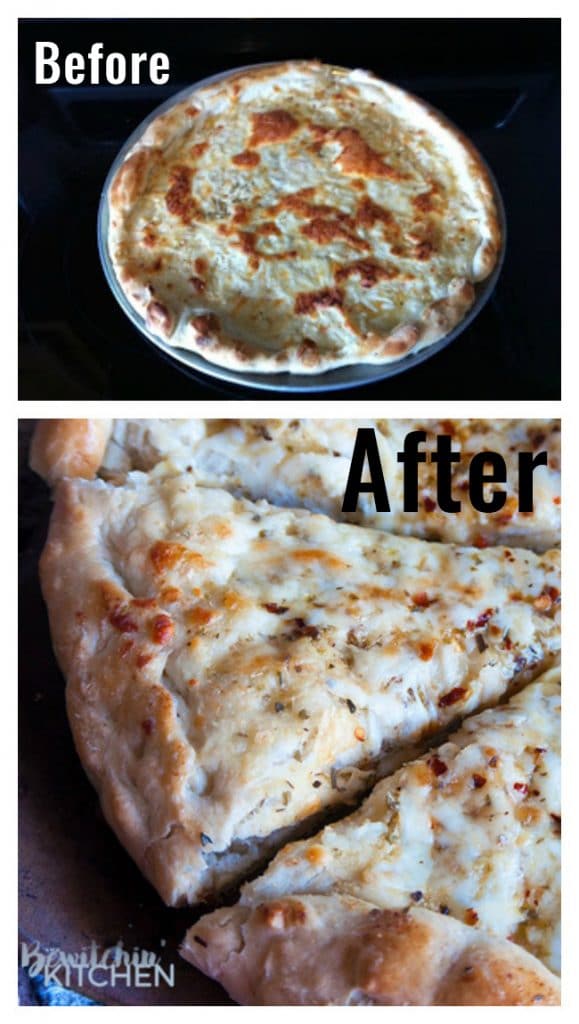
This is another example of just how awful I was much I improved over the past few years. This recipe for Italian Pizza Bread was originally written in 2011, still using that digital camera. I also learned you should add some pop elements. In this case I sprinkled some oregano and red pepper flakes on top of the pizza to give it color and texture. I also changed my editing style back in November of 2015 to what was Lindsay showed us on a FBP video.
I’ll get into that editing in my next photo.
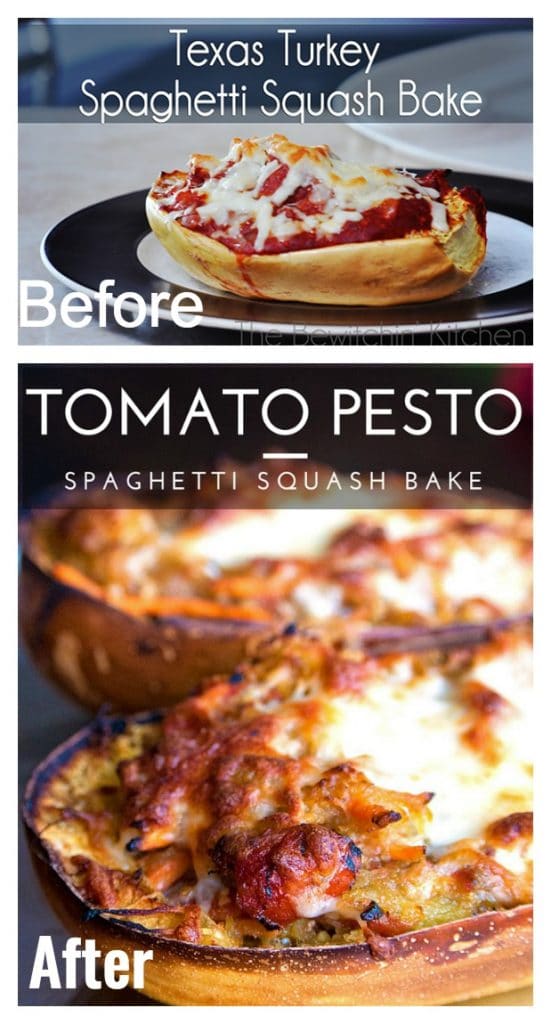
I believe the above photo was taken in 2013. I was using my camera and 50 mm but my editing style consisted of Photoshop Actions. There is nothing wrong with actions, they’re quick and easy but they’re not always meant for the photo that was taken. I still use them for my travel images and personal images, but I’ve retired them for food photography. In FBP, I learned about white balance using levels (game changer), to use vibrancy and not saturation and how to brighten photos (and eliminate harsh highlights). The bottom photo was actually really hard to shoot, I did my best with what I had. The editing styles improved it so much (now I wish I kept the before image). Recipes: Texas Turkey Spaghetti Squash Bake and Tomato Pesto Spaghetti Squash Bake.
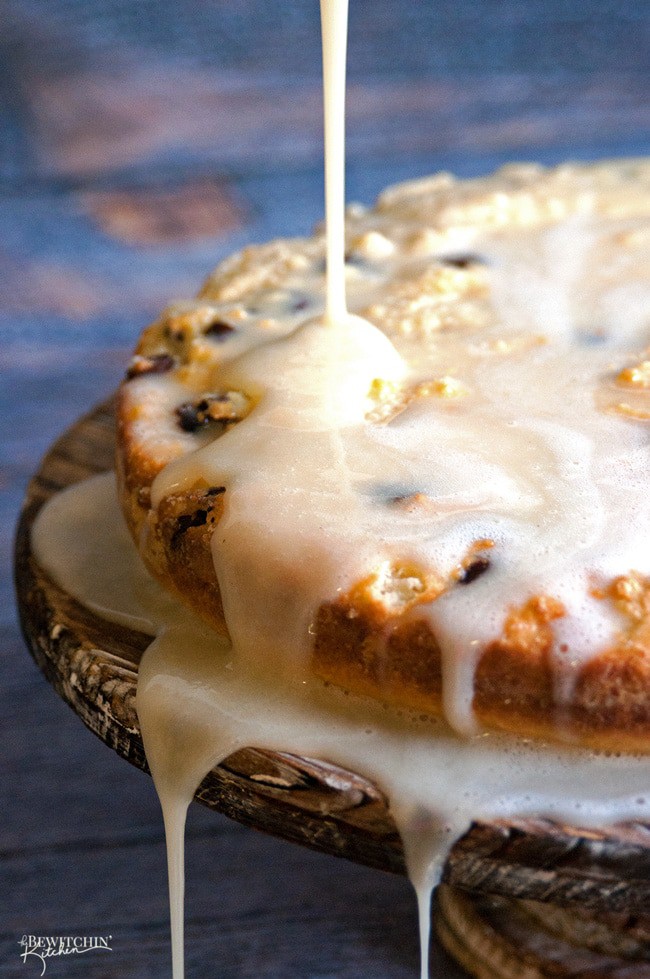
I learned the importance of a pour shot, and how to do it. Recipe: Ricotta Cake with Eggnog Glaze.
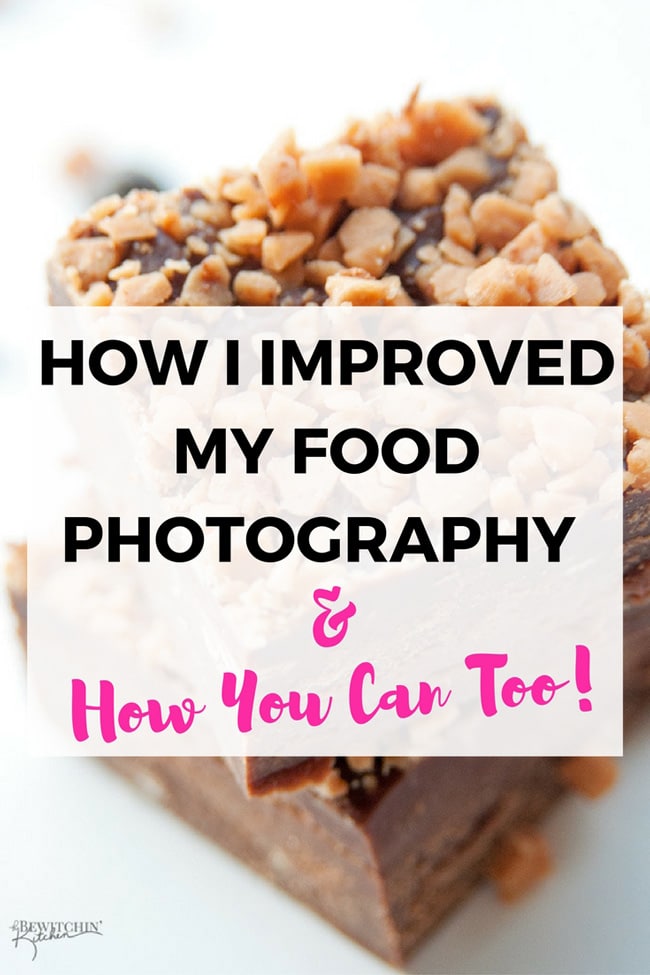
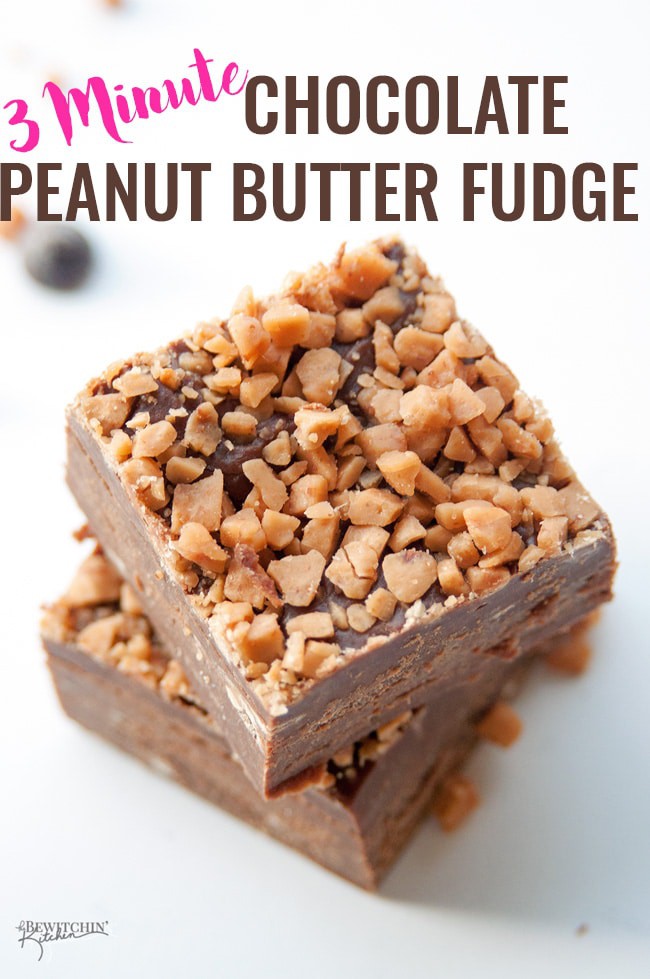
I also learned about food placement and angles. Recipe: Chocolate Fudge with Skor Topping.
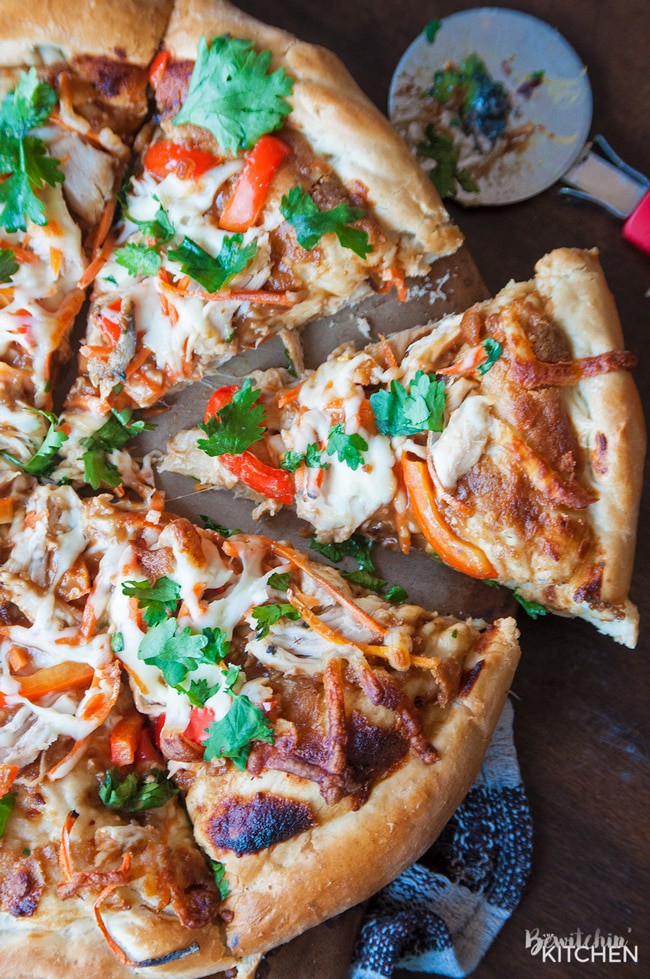
I also learned to enjoy the process! It’s not always going to be perfect, every post is a chance for improvement. My food photography is far from perfect, but every recipe it gets better! Recipe: 30 Minute Thai Chicken Pizza.
We all have something to learn and there will always be something to learn. Right now Food Blogger Pro is closed to new members, but you can get on the waitlist for when the open it up again. Join the Food Blogger Pro Waiting List!
PS – My friend Stacie, from Simply Stacie, recently wrote an amazing food photography guide. Check out Stacie’s Photography Tips and Tricks.
Another awesome tip? Shoot in raw format. Here’s why you should always shoot in raw.
Food Photography Gear:
This is the gear I have used in the images above.
Nikon D90. I bought this camera used off Kijiji and paid shipping to have it sent to the province I was in. Upgrading doesn’t have to cost a lot when you’re starting out. I’m selling this (and all my lenses) soon. It’s a great camera to start out with, but I’ll be switching (and upgrading) to Canon. I’m debating between the 5D Mark iii and the Canon 6D. I’m leaning towards the 6D since the price point is more attainable.
Nikon AF Nikkor 28-105mm This is the lens I have used for all the food photography you have seen for over a year. Sadly, my son knocked it off the table and it’s broken. It won’t zoom in and out past a certain setting and the autofocus doesn’t focus that well. I basically have to keep it on one sweet spot and work with it. It’s still a beautiful lens. I bought it off eBay originally and saved hundreds because part of the plastic on the lens was broken off.
Nikon Nikkor 50mm 1.8 This was the lens I first started out with in food photography. It’s affordable when it’s brand new, but you can also find it on eBay for a deal (I bought mine for $67 + shipping). When I upgrade my kit, I would love to get a 1.4 or even a 1.2 (swoon).
Wireless Remote This with the tripod makes pour shots easier.
Lowel Ego Light. I haven’t used it much since it’s summer and I have had decent light, but I know this will be my best friend come winter. I have also used it for lighting YouTube Videos too. (See said video below – btw, if you travel for your blog like I do – this is heaven sent.)
Swanky Prints. I have bought a few of her backgrounds and they’re good quality. I bought from a competitor before her, and the vinyl would wash off when I cleaned it.
Sign up for Food Blogger Pro







Great post! Thanks for sharing all this info. I’ll definitely be checking out Food Blogger Pro!
Wow your pictures really did improve! I’m very impressed!
I take the worst pictures no matter what I do. Now I feel like there is some hope for me.
Fabulous pictures. Thanks